
To roast a turkey perfectly, season a fully thawed bird, roast it at 325°F until a meat thermometer reads 165°F in the thickest part of the breast, thigh, and wing, then rest it 20–30 minutes tented with foil before carving. That is the entire method — everything else is refinement.
Roasting a turkey intimidates first-timers mostly because of its size. It is the biggest thing most home cooks ever put in an oven, and the stakes feel high because everyone is watching. But a turkey is just a large chicken, and the rules are the same: dry skin for browning, steady moderate heat, seasoning under and over the skin, and a thermometer instead of guesswork. Follow the steps below and you will serve a juicy, golden bird on your first try.
Key Facts
- Roast at 325°F — steady, moderate heat cooks the bird evenly without burning the skin.
- 165°F is done — check the thickest part of the breast, the innermost thigh, and the innermost wing (USDA).
- Rest 20–30 minutes tented loosely with foil before carving so juices redistribute.
- Pat the skin completely dry before seasoning — dry skin browns, wet skin steams.
- Start with a fully thawed turkey — never roast a partially frozen bird. See our turkey thawing guide for timing.
Equipment You Actually Need
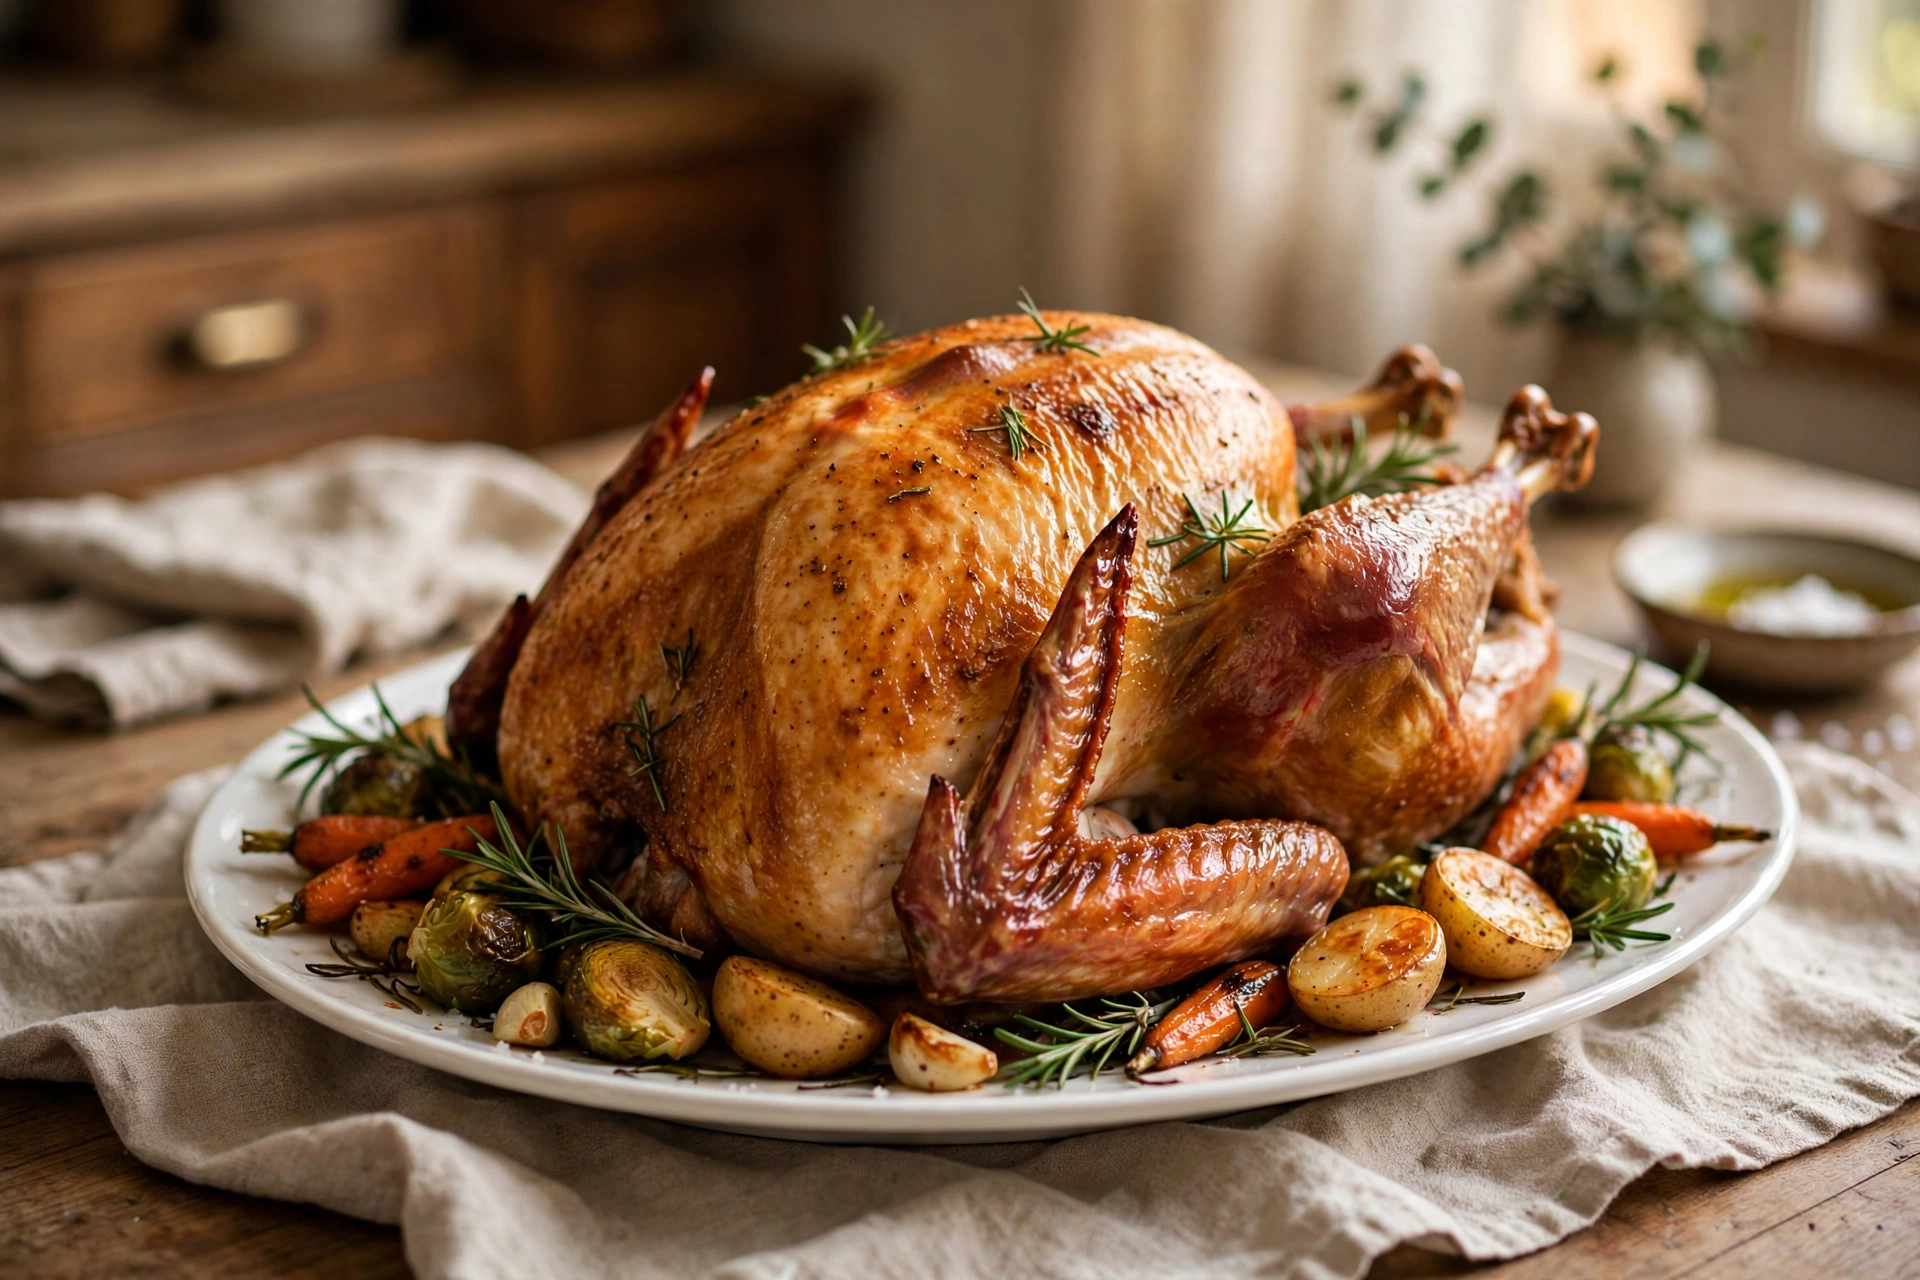
You do not need a specialty store’s worth of gear. The essentials:
- A roasting pan with a rack. The rack lifts the bird so hot air circulates underneath and the bottom does not stew in drippings. No rack? A bed of roughly chopped onions, carrots, and celery works.
- A reliable meat thermometer. This is the one non-negotiable tool. An instant-read thermometer is inexpensive and eliminates all guesswork. Pop-up timers are unreliable — verify with a real thermometer.
- Aluminum foil. For tenting the breast if it browns too fast and for resting the bird.
- Paper towels. For drying the skin, which matters more than most recipes admit.
- A sharp carving knife or chef’s knife. You will thank yourself at the table.
Optional but nice: a bulb baster or large spoon for basting, kitchen twine for trussing the legs, and a fat separator for gravy. None are required for a great result.
Prepping the Bird: The Steps That Matter Most
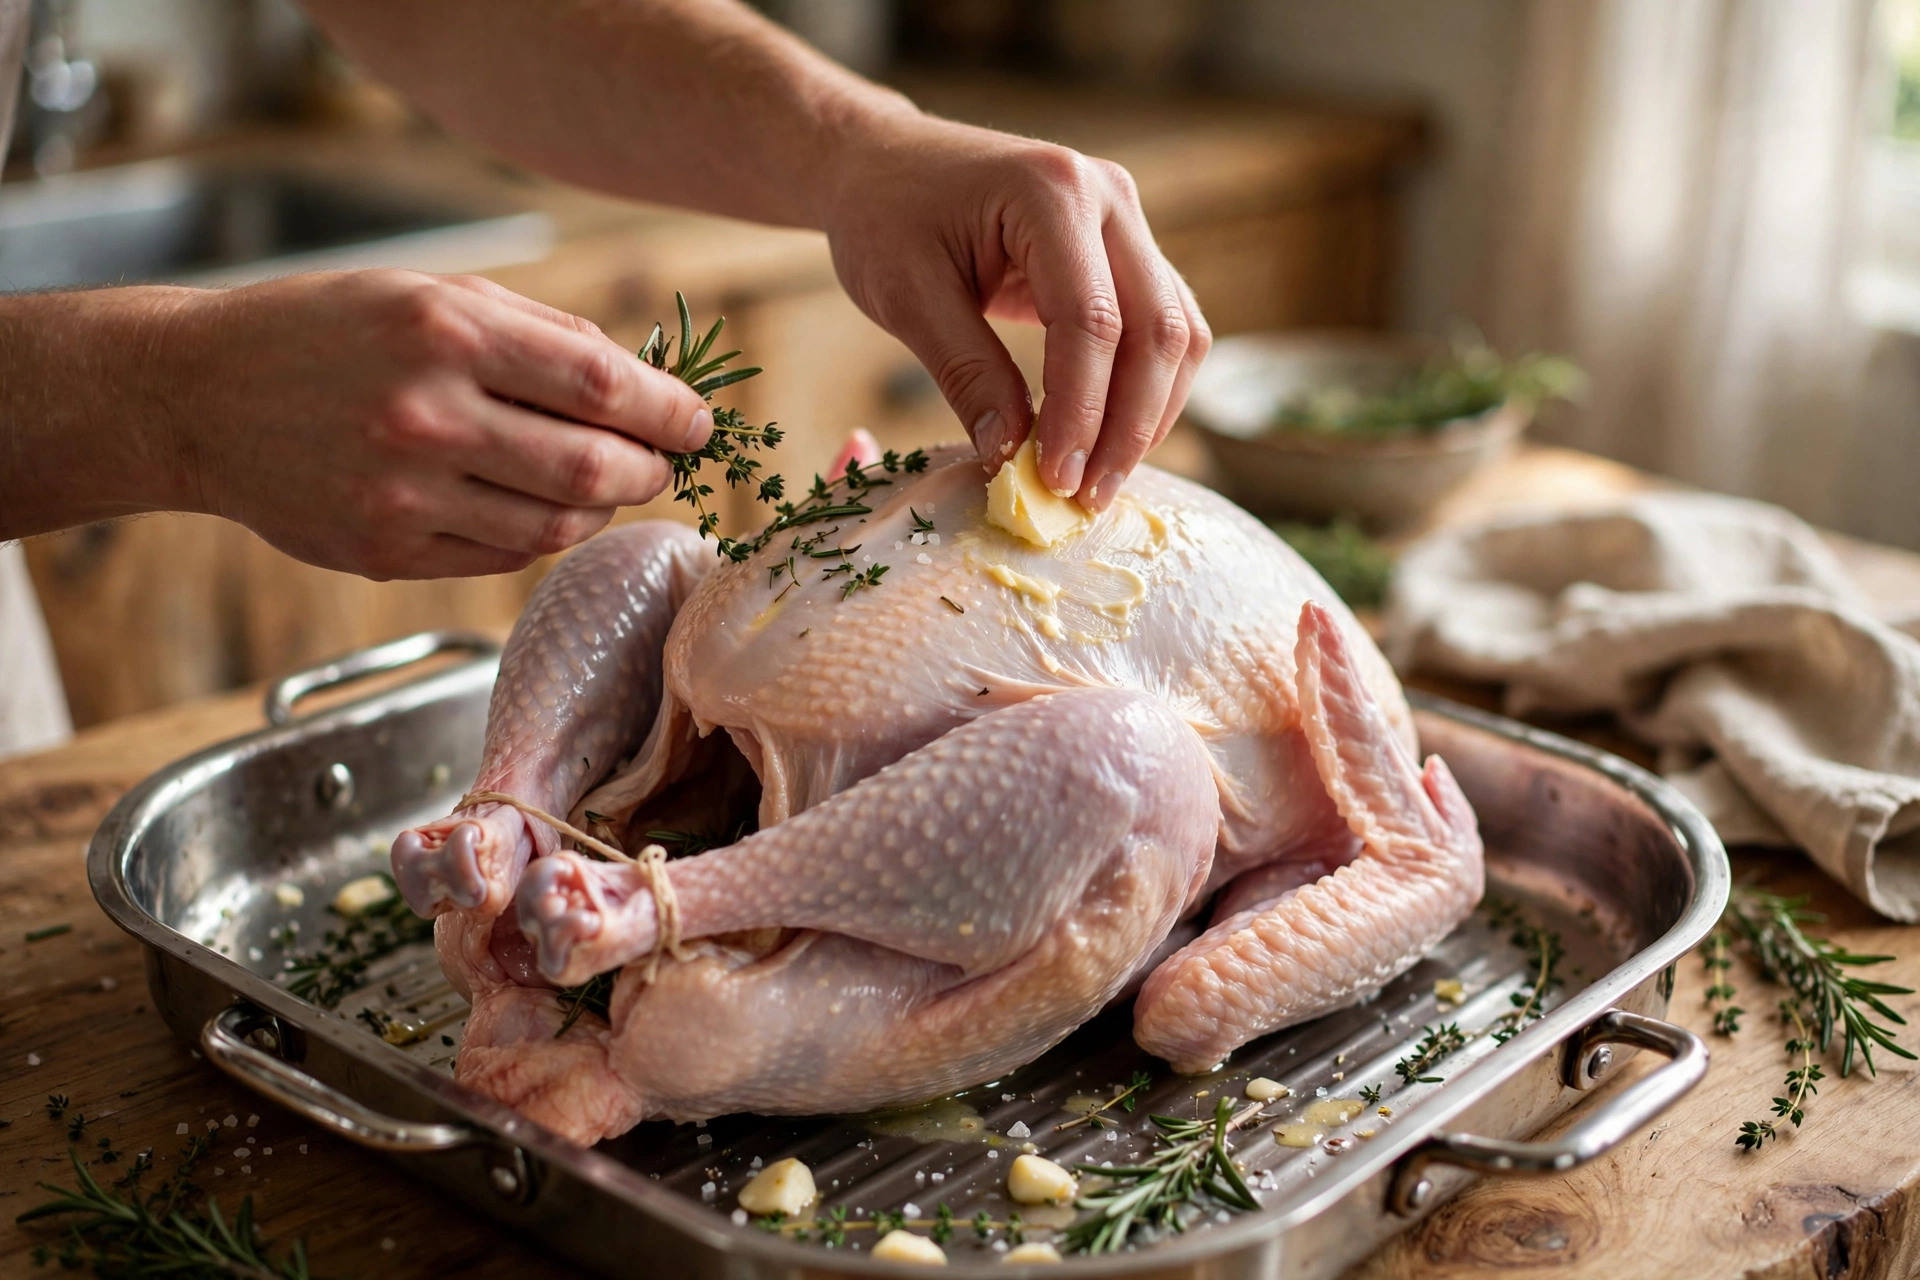
Great roast turkey is decided before it ever sees the oven. Give yourself about 30 minutes of prep.
1. Confirm it is fully thawed. Press the cavity and the thickest part of the breast — no ice crystals anywhere. A partially frozen turkey roasts unevenly and unsafely. If yours is still icy, you need the cold-water method, not the oven.
2. Remove the giblets and neck. Reach into both cavities and pull out the bag of giblets and the neck. Save them for stock or gravy — do not roast the bird with the bag inside.
3. Pat the skin completely dry. Inside and out, with paper towels. This is the single biggest factor in crispy, golden skin. Wet skin steams; dry skin roasts.
4. Season generously. Rub the entire bird — inside the cavity too — with kosher salt and black pepper. Then work softened butter (or olive oil) under the breast skin with your fingers, and rub more butter all over the outside. The butter under the skin bastes the breast meat from within as it roasts.
5. Add aromatics to the cavity. A quartered onion, a few celery stalks, fresh herbs like thyme, rosemary, and sage, and half a lemon. These perfume the meat gently from the inside.
6. Truss loosely (optional). Tie the legs together with kitchen twine and tuck the wing tips under the body. This helps the bird cook evenly and look tidy. It is optional — an untrussed bird roasts fine.
7. Let it temper briefly. Leave the seasoned bird at room temperature for 30–60 minutes before roasting (no more than 2 hours total). A less-ice-cold bird cooks more evenly.
“Dry skin, real butter, and a thermometer — that is 90 percent of a perfect turkey.”
Oven Temperature: Why 325°F
325°F is the sweet spot the USDA and generations of cooks agree on: hot enough to brown the skin beautifully and cook the bird through in a reasonable time, gentle enough that the breast does not dry out before the thighs finish. Higher temperatures risk a burnt exterior with an underdone interior; lower temperatures stretch the roasting time so long that food-safety margins get uncomfortable.
Position a rack in the lower third of the oven so the turkey sits centered with room for hot air to circulate. Preheat fully before the bird goes in — an oven that is still climbing throws off all timing.
Roasting Times by Weight
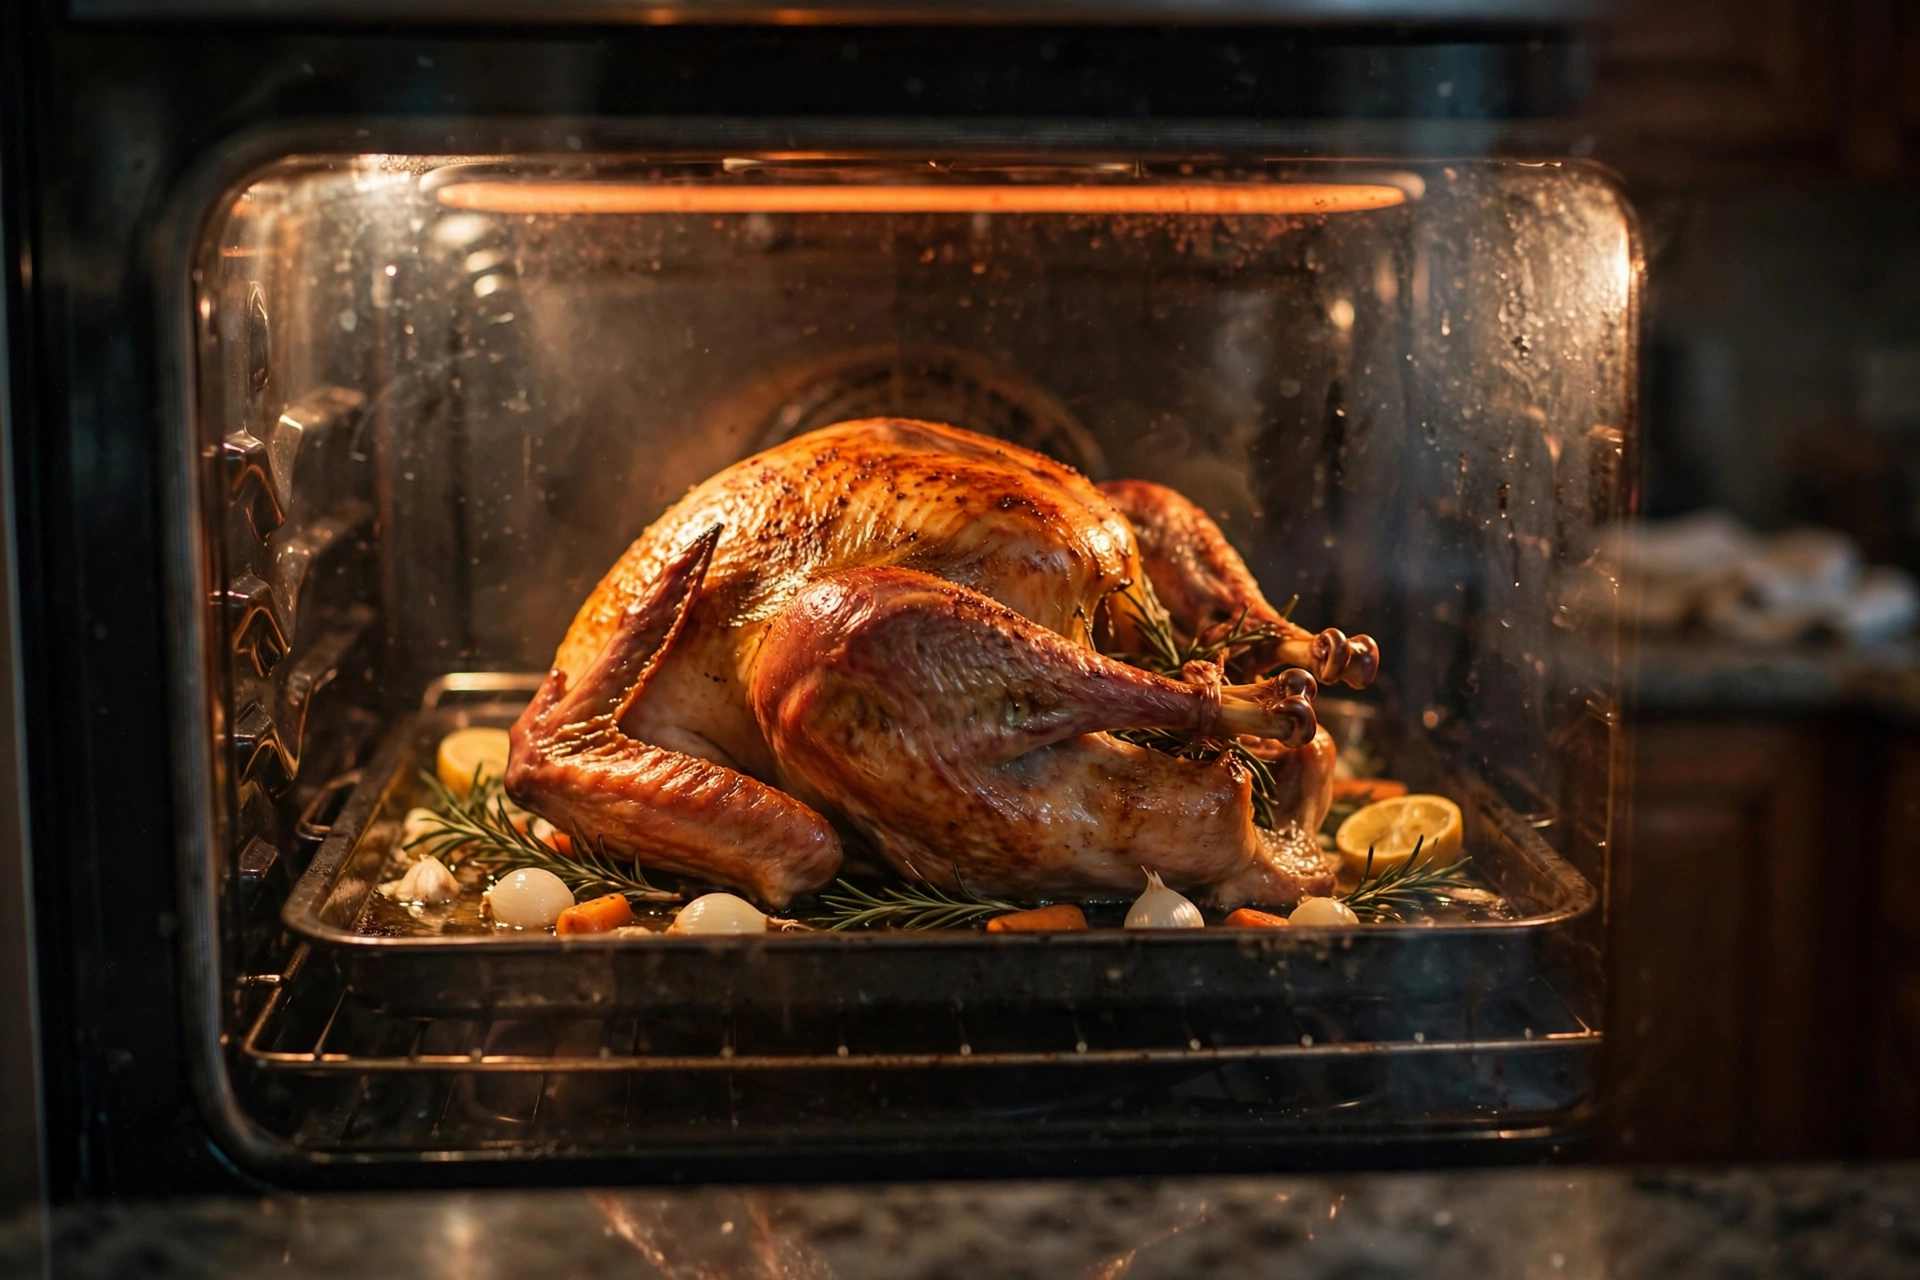
Use these as planning ranges for an unstuffed turkey at 325°F — they are estimates for scheduling, not doneness tests. The thermometer always has the final word.
- 8–12 pounds: roughly 2¾ to 3 hours
- 12–14 pounds: roughly 3 to 3¾ hours
- 14–18 pounds: roughly 3¾ to 4¼ hours
- 18–20 pounds: roughly 4¼ to 4½ hours
- 20–24 pounds: roughly 4½ to 5 hours
A stuffed turkey needs roughly 30–45 minutes longer, and the stuffing itself must reach 165°F in the center. For food safety and simpler timing, many cooks bake their stuffing separately as a side dish — it also gets crispier edges that way.
Place the turkey breast-side up on the rack. If the breast skin is browning too quickly partway through, tent it loosely with foil and continue roasting — the foil shields the skin while the interior catches up.
Basting: Helpful, Not Mandatory
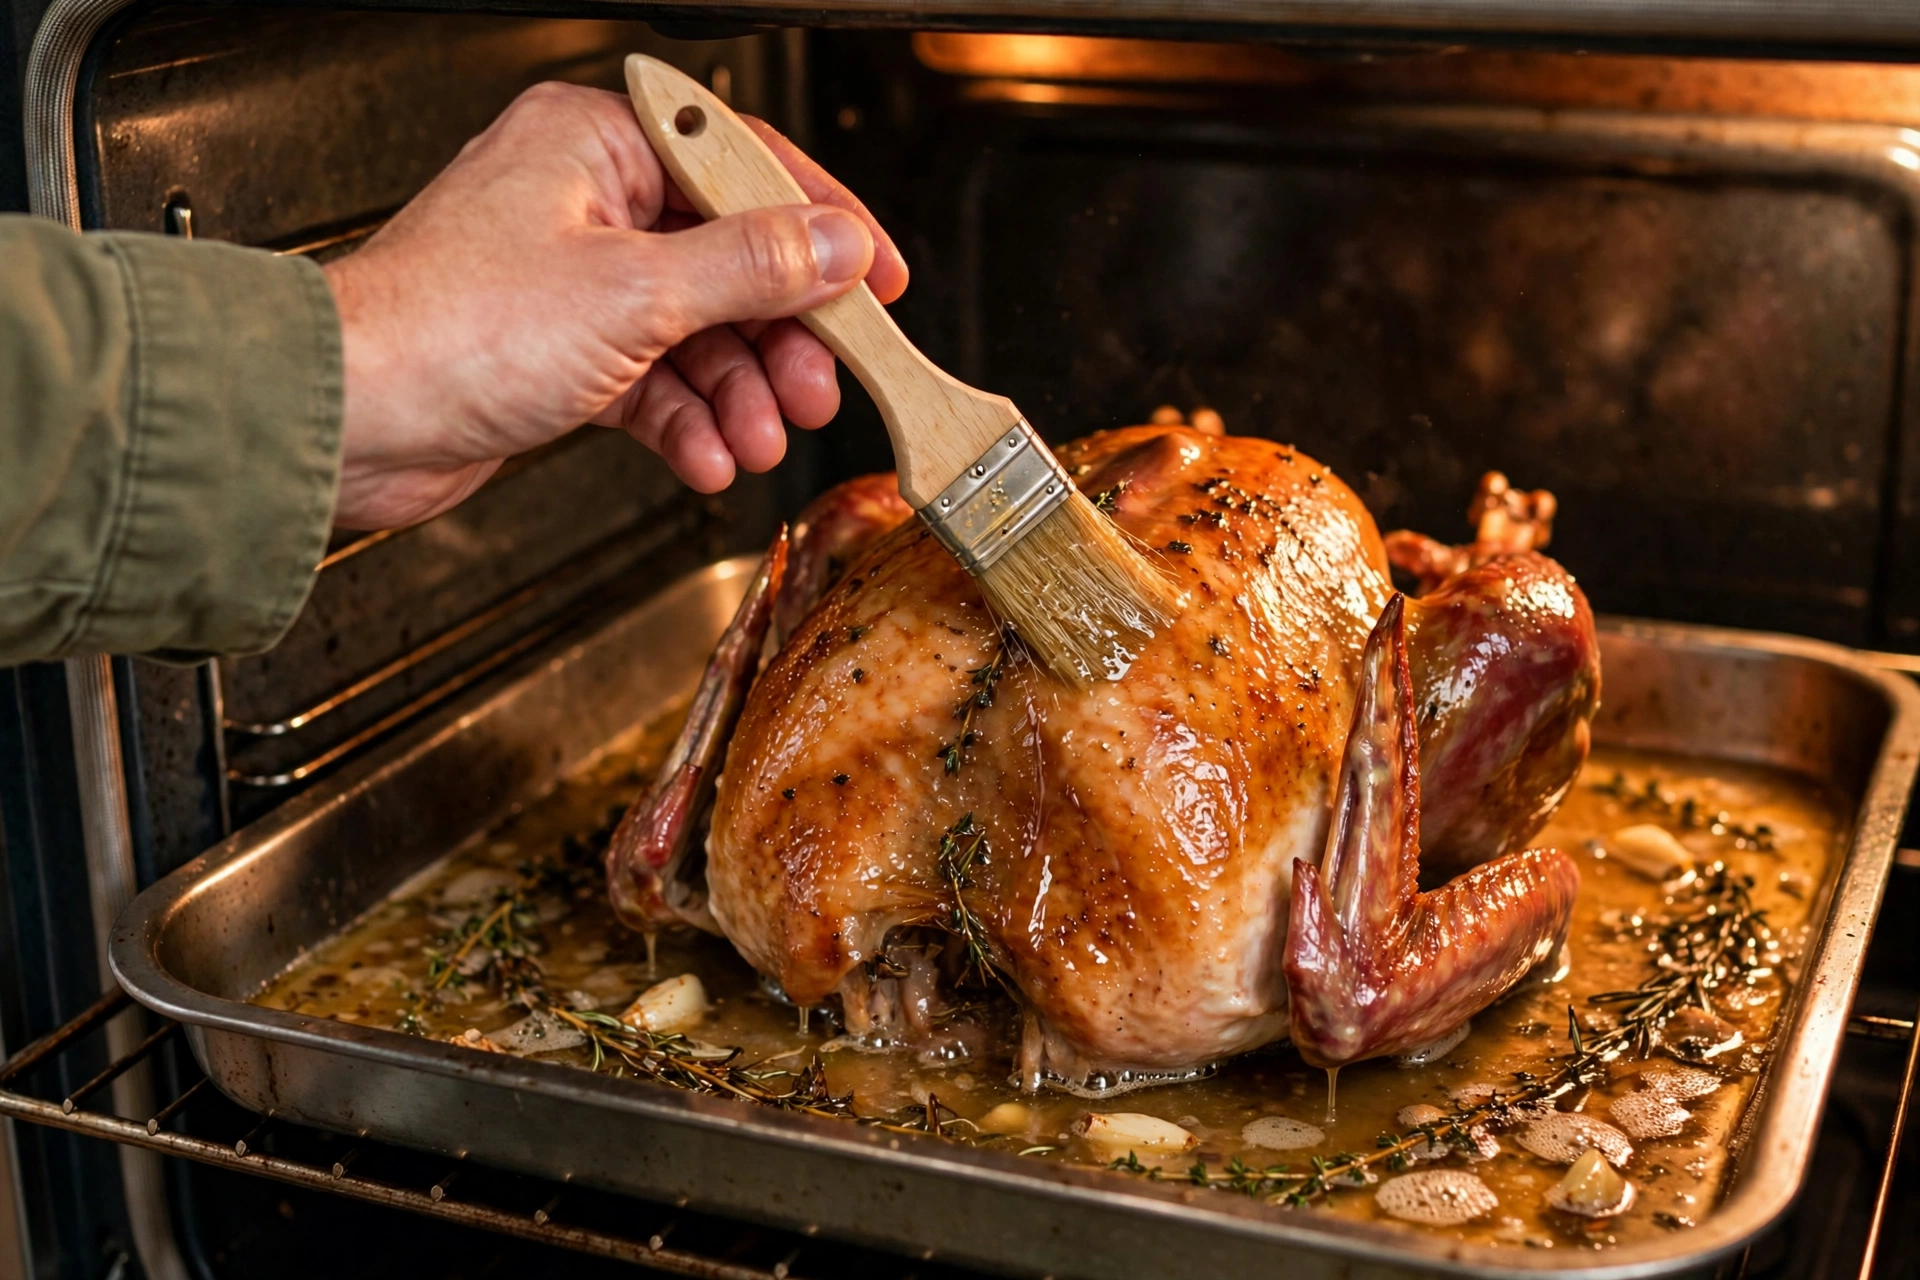
Basting — spooning hot pan juices over the bird — keeps the skin glossy and adds flavor. If you enjoy the ritual, baste every 45 minutes or so. But know that every time you open the oven door, the temperature drops and roasting time extends. A well-buttered bird with dry skin will brown beautifully with no basting at all.
If you baste, work quickly: open, spoon, close. And never baste with raw juices late in cooking without giving them time to cook through — the final 30 minutes of basting liquid gets fully heated on the hot bird, which is what you want.
The 165°F Rule: How to Know It Is Done
Forget time, color, and pop-up timers. A turkey is done when a meat thermometer reads 165°F in all three of these spots:
- The thickest part of the breast (without touching bone)
- The innermost part of the thigh (without touching bone)
- The innermost part of the wing
Insert the thermometer into the side of the breast, angling toward the center of the thickest meat. In the thigh, go in from the side where the leg meets the body. Bone conducts heat differently than meat, so touching bone gives a false high reading — always aim for meat.
Start checking about 30 minutes before the estimated finish time. Because of carryover cooking, many cooks pull the bird when the breast reads 160–162°F and let residual heat carry it to 165°F during the rest. Either way, verify 165°F before serving — it is the USDA safe minimum for poultry, and the USDA turkey basics guide is the definitive reference.
“The thermometer is the only honest instrument in the kitchen — everything else is a guess.”
Resting: The Step People Skip (Don’t)
When the turkey hits temperature, transfer it to a cutting board or platter, tent it loosely with foil, and rest it for 20–30 minutes before carving. This is not optional downtime — it is part of cooking.
During roasting, the heat drives juices toward the center of the meat. Resting lets those juices redistribute throughout the bird. Carve immediately and the juices run out onto the board; rest properly and they stay in the meat where they belong. The bird also stays plenty hot under the foil — and this window is exactly when your sides finish in the oven. Plan the rest into your Thanksgiving cooking timeline and it costs you nothing.
Carving Basics
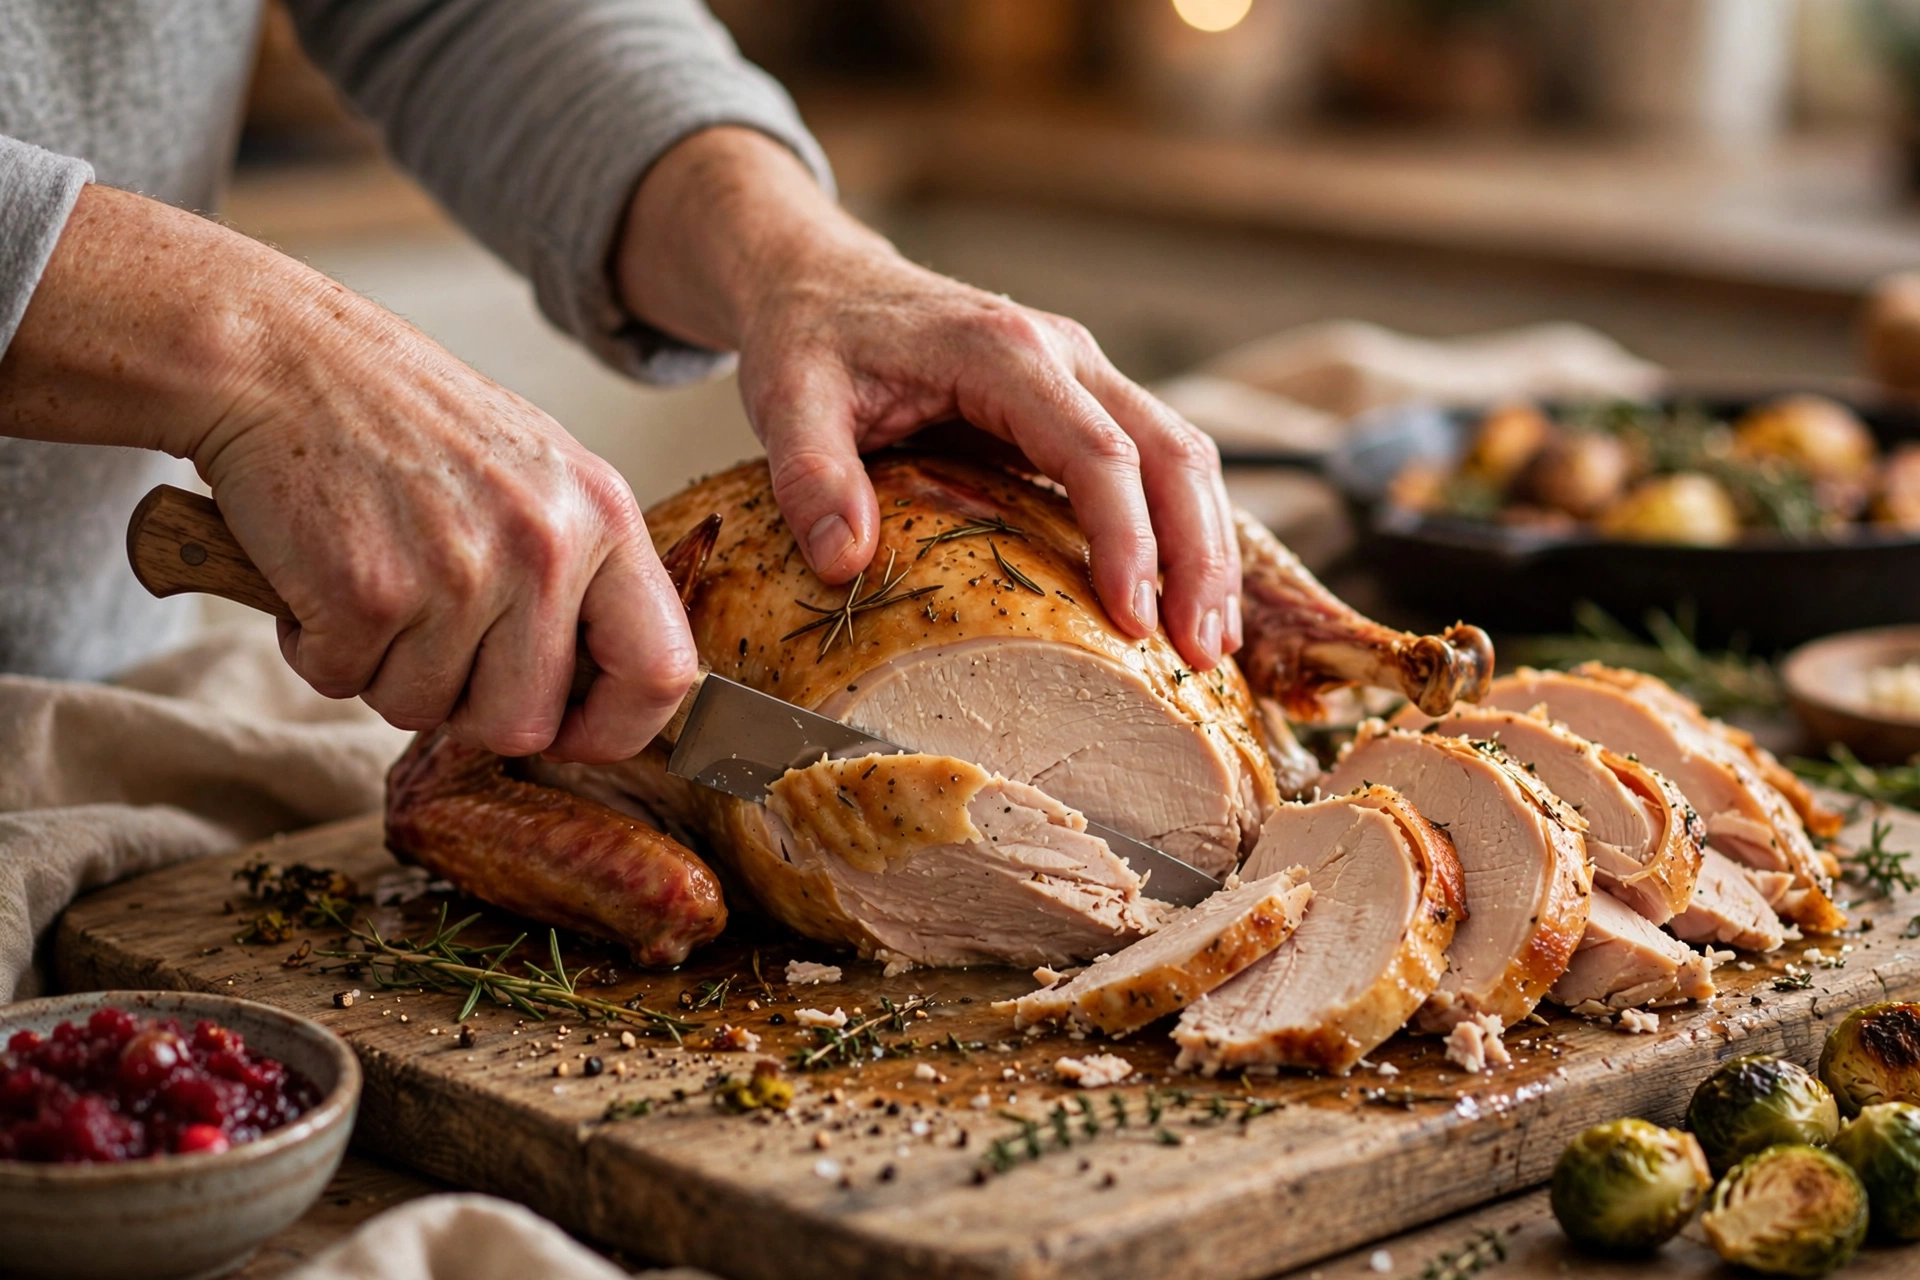
Carving looks dramatic but follows a simple order. Use a sharp knife and a carving fork or clean hands to steady the bird.
- Remove the legs: Cut through the skin between the leg and body, then pop the thigh joint by bending the leg outward until it separates. Cut through the joint — never saw through bone.
- Separate thigh and drumstick: Find the joint between them and cut through it. Slice thigh meat off the bone.
- Remove the breast: Make a long cut along one side of the breastbone, then slice downward following the ribcage to free each breast half in one piece.
- Slice the breast: Cut across the grain into even slices, about half an inch thick. Slicing across the grain keeps each piece tender.
- Wings: Cut through the wing joint and add them to the platter.
Arrange the meat on a warmed platter, mixing light and dark meat so guests can choose. Spoon a little warm broth or gravy over the sliced breast to keep it glistening. Save the carcass — it makes extraordinary stock for soup the next day.
Troubleshooting Common Problems
Skin browning too fast? Tent the breast loosely with foil. The bird keeps cooking; the skin stops darkening.
Breast done but thighs under? This is the classic turkey problem — breast meat finishes before dark meat. Next time, consider starting the bird breast-side down for the first hour, or shielding the breast with foil while the thighs catch up. An ice pack on the breast for 30 minutes before roasting also helps even things out.
Skin not crispy? The bird went in wet, or the oven was crowded with steam from other dishes. Next time, dry more aggressively and give the turkey the oven to itself.
Bird done way early? Tent with foil and hold it — a rested turkey stays hot for 45 minutes or more. If it is more than an hour early, carve and hold the meat covered in a low oven (above 140°F) until serving.
Dry breast meat? Slice it and spoon warm gravy or broth over the top. Gravy forgives almost everything, which is one more reason to make plenty.
Frequently Asked Questions
Should I roast the turkey covered or uncovered?
Roast uncovered for browned, crispy skin, and tent loosely with foil only if the breast browns too quickly. Starting covered and uncovering at the end gives pale, soft skin — the reverse of what most people want.
Do I need to brine the turkey?
No — brining is optional. A dry-brined (salted a day ahead) or simply well-seasoned bird roasted properly is juicy without any brine. Wet brining adds insurance against dryness but requires a large container, refrigerator space, and planning. Skip it your first time; master the roast first.
Can I roast a turkey from frozen?
The USDA says it is safe but it takes about 50 percent longer, the giblet bag stays trapped inside until the bird thaws enough to remove it, and you cannot season under the skin. Thawing first gives far better results — always thaw when you have the time.
How do I get crispy skin?
Three things: pat the skin completely dry before seasoning, rub it with butter or oil, and roast uncovered at 325°F without overcrowding the oven. Moisture is the enemy of crispness at every stage.
What if I don’t have a roasting rack?
Make a raft of roughly chopped onions, carrots, and celery in the bottom of the pan and set the turkey on it. The vegetables lift the bird, flavor the drippings for gravy, and roast into a delicious bonus side.
How long can the roasted turkey sit out?
Follow the 2-hour rule: get leftovers into shallow containers in the refrigerator within 2 hours of the bird coming out of the oven. For complete guidance, refrigerate leftovers promptly and safely — and match your bird size to your crowd with our turkey serving-size guide before you buy.
Conclusion
Roasting a turkey is a simple method wearing an intimidating costume. Dry the skin, season with conviction, roast at 325°F, trust the thermometer at 165°F, rest under foil, and carve with confidence. Do those six things and the bird takes care of the rest. Your first turkey will not be your last — and it will be better than you expect.
Leave a Reply