
Table of Contents
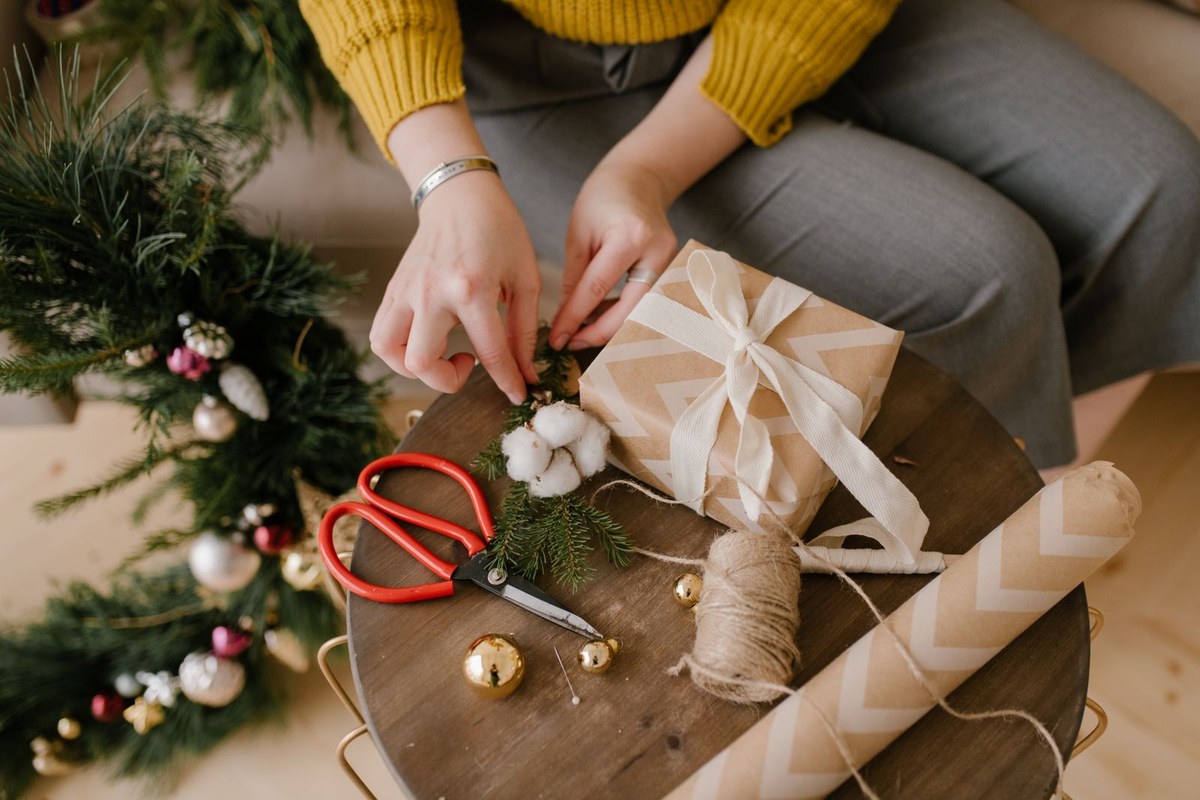
Every December I end up in the same place: sitting on the living room floor on the 23rd, surrounded by a pile of unwrapped presents, a roll of paper that keeps sliding off the couch, and scissors I can never find when I need them. Learning how to wrap Christmas gifts properly changed that evening from a chore I dreaded into the quietest, most satisfying hour of the holiday. A well-wrapped gift does something a gift bag never manages. It slows the person opening it down for ten seconds. They turn it over, they notice the corners, they read the tag, and for a moment the present feels considered before anyone knows what is inside.
This guide is about technique, not shopping. You do not need expensive paper or a craft room. You need a flat surface, sharp scissors, decent tape, and a method you can repeat without thinking. Once you can wrap a standard box cleanly, every other shape is a variation on the same few moves: measure honestly, fold in the right order, crease hard, and hide the tape. Work through the box wrap first, even if you have wrapped gifts for years, because most wrapping problems start with cutting the wrong amount of paper or folding the ends in the wrong order.
What You Need to Wrap Christmas Gifts Well
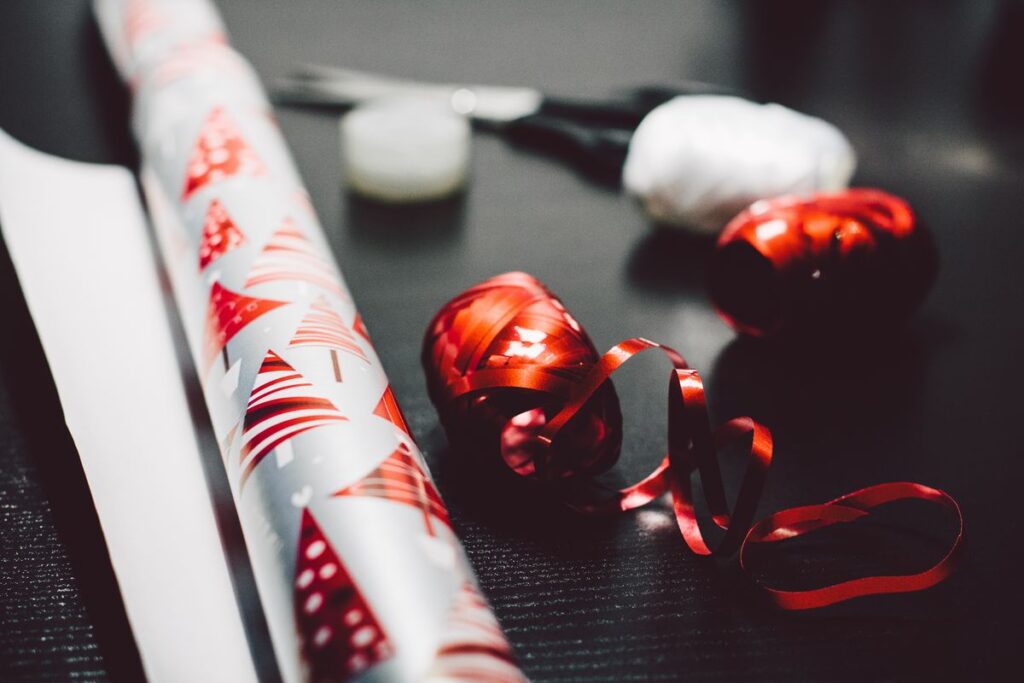
Good wrapping starts before the paper comes out. Gather everything in one place so you are not getting up every two minutes, and clear a surface bigger than the largest gift. A kitchen table beats a bed, because a soft surface lets the paper wrinkle and the box shift while you fold. Put a bin or a bag beside you for trimmings, and keep a pen handy for tags.
- Wrapping paper: one or two rolls in a thick, matte or lightly coated finish. Thin, shiny paper tears when you crease it and shows every fingerprint. If you can, buy paper with a grid printed on the back. It makes measuring and cutting straight lines far easier.
- Sharp scissors: long blades cut straighter than short ones. Dull scissors chew the paper edge, and a chewed edge is almost impossible to fold neatly.
- Tape: regular clear tape for seams, and double-sided tape for the places you want to stay invisible. A tape dispenser with some weight to it saves a lot of fumbling.
- Ribbon and twine: one wide ribbon for bows and one narrow twine or cord for simple ties. Curling ribbon is useful for kids’ gifts and for filling out a bow.
- Gift tags: plain card tags, or thick card you can cut yourself. A pen that does not smudge on coated card.
- Boxes: a few spare boxes in common sizes. Boxing an awkward gift first is the single best wrapping shortcut there is, and it is worth keeping a small stash.
- Extras worth having: a ruler or a bone folder for crisp creases, tissue paper for filling boxes and softening sharp corners, and a few sprigs of greenery or dried orange slices for finishing.
Keep the leftover paper, ribbon, and tags together when you finish. A single box or a tall bag holds the lot, and it saves you buying the same supplies twice next year. Our guide on how to store Christmas decorations covers the same habit for the rest of the holiday kit, and the wrapping box belongs in that system: paper stored upright so it does not crease, ribbons kept on their spools, and a note inside saying what you already own.
How to Measure and Cut Wrapping Paper
Most wrapping goes wrong before the first fold, because the paper is the wrong size. Too little paper and you end up patching a gap with a scrap that shows. Too much and the ends turn into thick, lumpy flaps that will not lie flat. The measuring method below takes thirty seconds and works for any rectangular box.
Set the box on the paper with its top face down. Roll the box away from you across the paper until it has turned over four times, and mark where it stops. That distance is the circumference of the box plus a little extra. Add about 4 centimetres (an inch and a half) of overlap, and cut there.
For the ends, the paper needs to reach about three-quarters of the way up each side of the box. A simple check: with the box sitting on the paper, fold each side of the paper up and see that it covers at least two-thirds of the box’s height. If the two sides meet in the middle, you have too much; trim a little off one side.
Cut with long, smooth strokes, and cut on a straight edge if your paper has no grid. A jagged cut edge will show on the finished seam, so take your time here. If you are wrapping several gifts in the same paper, measure the largest box first and cut all the pieces from the same end of the roll, so the pattern stays consistent and you waste less.
How to Wrap Christmas Gifts: The Perfect Box Wrap, Step by Step
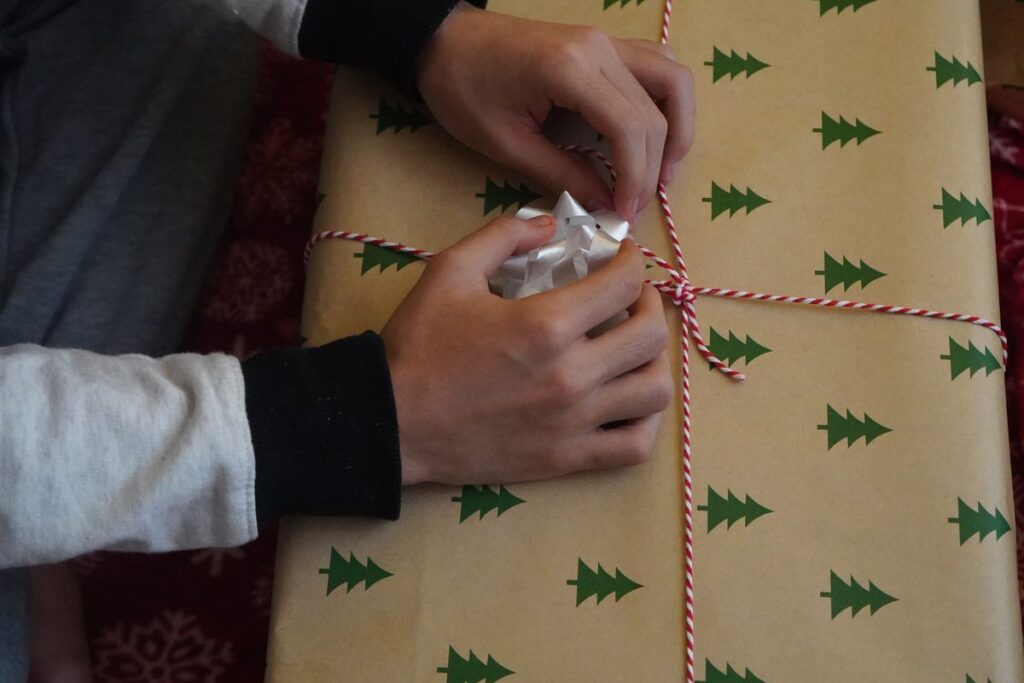
This is the core move of the whole guide. Practice it once on a spare box and a scrap of paper, and you will use it for the next twenty years. Work on a hard, flat surface, and keep the printed side of the paper facing down.
- Place the box top down in the centre of the paper. The top of the box faces the table, so the seam will end up on the bottom of the finished gift. Leave a little more paper on one side than the other, because the longer side will fold over the top.
- Bring the shorter side up first. Pull it up the side of the box and across the top, and tape it down in the middle with a small piece of tape. Do not pull it drum-tight; paper stretched too hard will split at the corners.
- Fold the long side over. Before you bring it across, fold its raw edge under by about a centimetre, so the folded edge, not a cut edge, is what shows. Crease the fold with your thumb or a ruler, then bring it over the taped side and secure it with tape, or with double-sided tape underneath for a cleaner finish.
- Turn the box so one open end faces you. Push the two side flaps of paper inward, against the sides of the box, so they form two triangles pointing in. Crease both folds firmly.
- Fold the top flap down. Take the upper flap, fold it down over the end of the box, and crease the edge sharply. The fold should sit flat and square.
- Fold the bottom flap up. Bring the lower flap up over the first one, crease it, and tape it in the centre. If the flap is too long, fold its edge under first, the same way you did with the long side.
- Repeat on the other end. Turn the box around and do exactly the same thing. The two ends should look like mirror images.
- Check the seams and corners. Run your thumb along every crease once more. If a corner pokes out, tuck it in and add a tiny piece of tape on the underside. If the paper has a small tear near a corner, a piece of tape on the inside will hold it, and a ribbon will cover the outside.
- Turn it over and look at the top. The finished face should be smooth, with no tape showing and no loose edges. If the seam has drifted off-centre, it does not matter, because it sits on the bottom.
Two details make the difference between a tidy wrap and a shop-bought look. First, crease every fold twice, hard, with your thumbnail or the flat of a ruler. A fold you merely press with your palm will spring back and look soft. Second, use as little tape as you can get away with, and put it where it will not be seen. If you want a second opinion on the same method, HGTV’s guide to how to wrap a Christmas present like a pro walks through the same box wrap with clear photos of the end folds, which are the part most people find hardest to picture from words alone.
Crisp Corners and Seams That Disappear
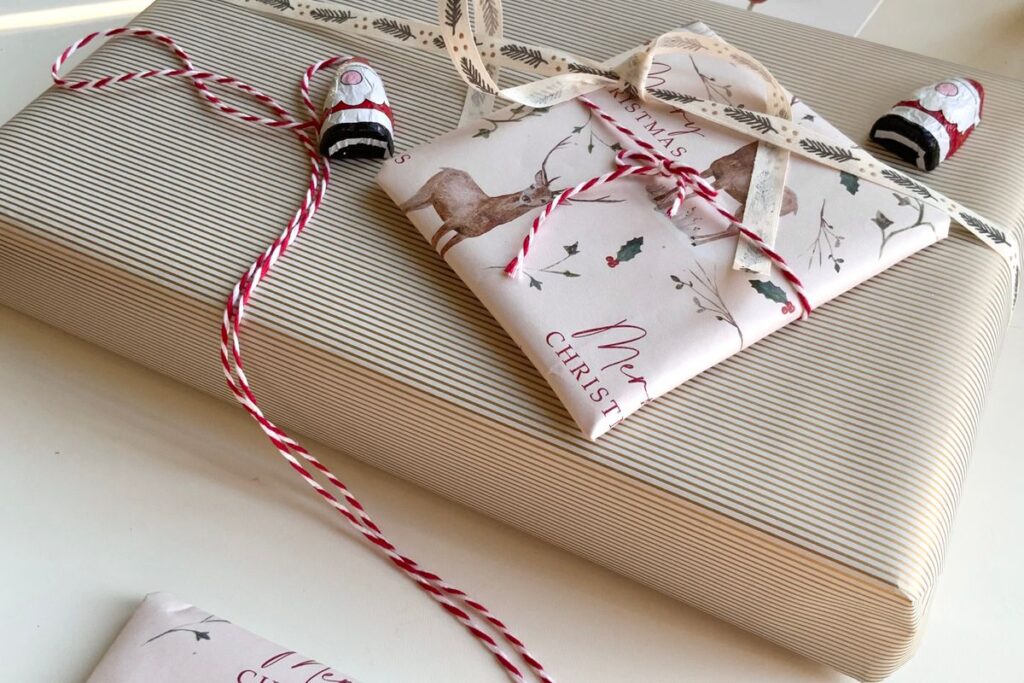
Once the basic box wrap works, the next level is all about the corners. A corner goes wrong when the paper bunches, because there was too much paper at the end, or when the fold is made in the wrong order. The fix is simple: when you fold the end flaps in, push the side triangles in first and crease them flat before you touch the top and bottom flaps. If the triangles stick out past the end of the box, trim a small triangle off the excess paper before folding, so the layers sit flat.
For seams, double-sided tape is the quiet hero. A strip of it under the long folded edge hides the tape completely, and a small piece under the bottom end flap does the same. It costs a few seconds more per gift, and it is the difference between a present that looks wrapped and one that looks finished. On dark or patterned paper, clear tape shows less than it does on pale paper, but even there, tape on the top face catches the light. Keep every piece of tape on a seam, an end, or the bottom.
One more habit worth building: wrap with the pattern the right way up. It sounds obvious, and it is easy to forget when you are working fast. Before you tape anything, glance at the top face and check that any pattern, picture, or text reads correctly from the front of the gift. A reindeer upside down is a small thing, but it is the kind of detail people notice without knowing why the gift looks slightly off.
How to Wrap Christmas Gifts in Awkward Shapes
Boxes are the easy part. The gifts that cause trouble are the ones that refuse to be boxes: bottles, balls, soft clothes, and the enormous thing that will not fit any paper you own. Each of these has a reliable method, and none of them needs special equipment.
Bottles
Stand the bottle in the centre of a square of paper large enough to reach well above the neck. Gather the paper up around the bottle, pleating it as you go so the folds lie flat against the glass, and tie it tightly just below the neck with ribbon or twine. Trim the paper above the tie into a fan or a pointed shape, or leave it tall and fold the top over for a cleaner line.
A second option, and the neater one, is the cylinder wrap: roll the bottle in paper like a poster tube, tape the long seam, then fold the bottom flat and gather the top the same way. If the bottle is a good one and the paper is thin, wrap the bottle in tissue first so the label does not tear the paper and the glass does not show through.
Balls and Round Objects
A ball will defeat a normal wrap, because paper does not bend around a sphere without tearing. The answer is to gather rather than fold. Place the ball in the centre of a large square of paper, bring all four corners up together, and tie them off above the ball with ribbon. The gathered paper forms a soft pouch, and the tied top becomes a decorative finish. For a smarter look, use two layers: tissue paper next to the ball, then wrapping paper outside it. The tissue stops the ball from sliding and fills the gaps, so the outer paper sits smoothly. A bauble, a football, or a round candle all take the same treatment.
Soft Items: Clothes, Scarves, and Toys
Soft gifts are the easiest to wrap badly and the easiest to wrap well. Fold the item neatly into a rectangle, then either put it in a box or wrap it like a box, using tissue paper inside to keep the shape firm. Without a box or tissue, the paper will sag between folds and the corners will collapse. A scarf rolled into a tight cylinder and wrapped like a bottle works well, and a soft toy can be wrapped the same way as a ball. If the item is very light, add a piece of card inside the wrap to give it structure, so it looks like a present rather than a soft parcel.
Oversized and Oddly Shaped Gifts
For a gift that is too big for one sheet of paper, tape two sheets together on the back with a long strip of tape before you start, matching the pattern as closely as you can. The join will sit on the underside or under a ribbon.
For something genuinely odd shaped, like a bicycle helmet, a plant, or a framed picture, stop trying to make it look like a box. Wrap it in a large piece of fabric, put it in a gift bag with plenty of tissue, or wrap it in brown paper and tie it with string, the way parcels used to be tied. A big, simple wrap with a good bow looks deliberate. A big gift squeezed into too-small paper with patches and extra tape looks like an accident.
Furoshiki: How to Wrap a Gift in Fabric

Furoshiki is the Japanese art of wrapping with cloth, and it suits Christmas better than most people expect. A square of fabric becomes the wrapping and part of the gift at once, there is no tape, no waste, and the whole thing takes about a minute once you know the moves. Use a scarf, a tea towel, a fat quarter of cotton, or any square of fabric about twice the width of the gift.
Lay the fabric face down and put the gift in the centre, turned on the diagonal so its corners point at the fabric’s corners. Fold the two opposite corners of the fabric over the gift and tie them together in a simple knot on top. Then fold the remaining two corners over and tie them the same way, so you end up with a neat knot or a small bow on top. For a flat gift like a book, the basic wrap is enough. For a box, the double knot holds everything firmly and looks tidy from every angle. The fabric can be plain, patterned, or seasonal, and the recipient can reuse it, which is part of the point.
A good furoshiki wrap also solves the awkward-shape problem, because cloth bends where paper tears.
Bows and Ribbon Techniques That Finish the Gift
A bow is not decoration added at the end. It is the part of the present people see first, and it hides a surprising number of small sins underneath. Learn one good bow and one simple tie, and you can finish any gift in the house.
The Classic Bow
Cut a length of ribbon about five times the width of the gift. Lay it across the top, bring it underneath, cross it, and bring it back up, so the ribbon wraps the gift in both directions. Tie a knot in the centre, then form two loops the way you would tie a shoelace, pull them snug, and adjust the loops until they match. Cut the tails at an angle for a clean finish. The trick is to tie the bow loosely at first and shape it after, pulling one loop at a time rather than yanking both ends at once.
The Layered Bow
For a fuller bow, use two ribbons of different widths or colours, one on top of the other. Tie the wide ribbon first, then tie the narrow one over the same centre knot. The layers give the bow depth, and the contrast makes a plain paper look expensive. A velvet ribbon over a satin one works well, and a narrow gold cord over a wide red ribbon is a classic Christmas pairing.
Curling Ribbon and Simple Ties
Curling ribbon is the fastest finish there is. Cut several lengths, tie them together at the centre of the gift, then run each strand over the blade of your scissors, pulling firmly to make it curl. It suits children’s gifts and informal presents, and it takes seconds. For a quieter finish, tie a length of twine around the gift and tuck a sprig of pine, a cinnamon stick, or a dried orange slice under the knot. It costs almost nothing, it looks considered, and it smells good when the gift is picked up.
One practical note: ribbon is expensive in small amounts, so buy a spool rather than a pre-cut length, and keep the offcuts. Short pieces of ribbon are useful for tying tags, sealing the ends of a furoshiki wrap, or finishing a small gift. And if you are buying presents for a dad who is hard to shop for, the wrap is often what makes a practical gift feel like a Christmas gift at all. Our list of Christmas gifts for dad is full of useful, everyday items, and a good wrap with a handwritten tag is what turns a wallet or a travel mug into something he will remember opening.
Gift Tags That Make It Personal
A tag is a small thing, and it is the part people keep. Write the recipient’s name clearly, and add one short line that is specific to them or to the gift. “For Dad, who finally needs a new one” beats “Merry Christmas” every time, because it shows you were thinking about the person, not just the present. If you have several similar gifts, write a word or two on the back of the tag so you remember which is which, and keep a list of who got what, so January does not bring an awkward duplicate.
Tags do not have to be bought. A rectangle of thick card, a hole punched in one corner, and a length of twine is a perfectly good tag. Children can make them, which keeps small hands busy while you wrap, and a handmade tag on plain brown paper looks better than a printed tag on expensive paper. If you want something a little more polished, stamp the card, press a dried leaf onto it, or write the name in your best handwriting and leave it at that. The rule is the same as with the wrap: one clear idea, done well, beats three ideas fighting each other.
Fixing the Most Common Wrapping Mistakes
Almost every wrapping failure comes from one of five causes, and each has a quick fix.
- The paper tears at the corner. You pulled it too tight, or the paper is too thin for the gift. Patch the tear from the inside with tape, and cover the outside with a ribbon. Next time, wrap the gift in tissue first, or use a thicker paper.
- The ends are lumpy. There is too much paper at the ends. Trim the side triangles shorter before you fold the top and bottom flaps, and crease each fold before you make the next one.
- The seam shows on top. The box was placed face up. Turn the box over before you start, so the seam ends up on the bottom. If it is already wrapped, a wide ribbon across the seam will hide it.
- The paper is too short. Do not patch a gap in the middle of a face. Unwrap it and start again with a bigger piece, or switch to a gift bag or a fabric wrap. A patch in the middle always shows.
- The bow will not sit straight. The knot underneath is uneven. Untie the bow, retie the base knot so it sits flat in the centre, and then shape the loops. A bow tied over a lumpy knot will never look right.
- The gift rattles or slides inside. Stuff the box with tissue paper so the gift cannot move. A gift that slides around will tear the paper from the inside before Christmas morning.
Wrapping a Whole Pile of Gifts Without Losing an Evening
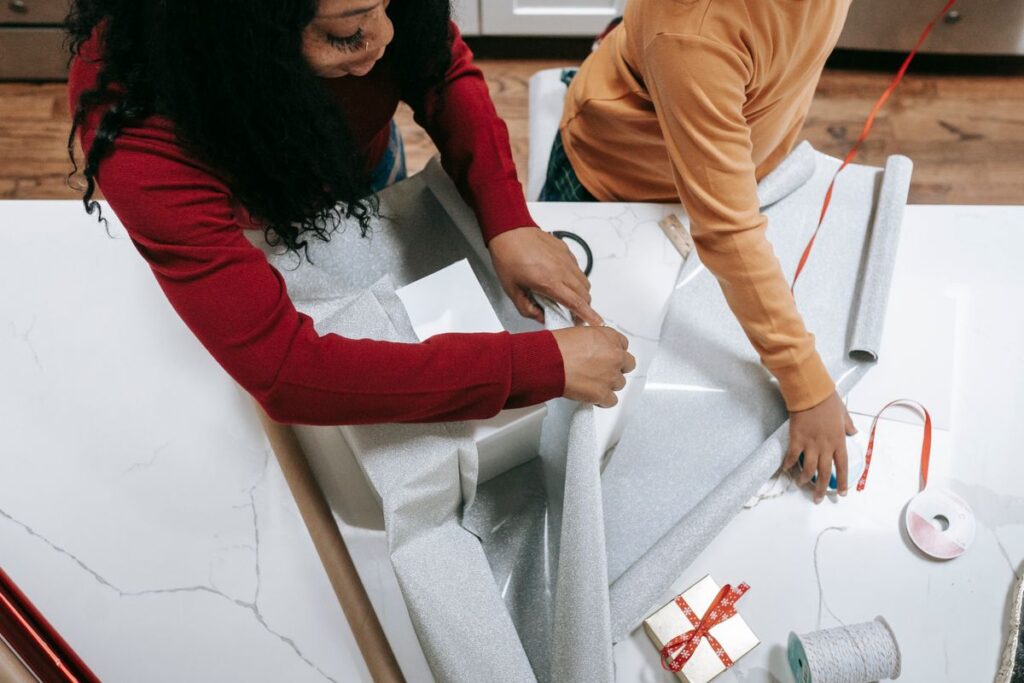
Wrapping one gift well is a pleasure. Wrapping twenty in one sitting is a production line, and it needs a system. Sort the gifts by size first, and wrap all the similar boxes together, because your hands learn the measurements and each one gets faster. Cut all the paper for one size at once, then fold and tape in batches. Keep the ribbon and tags for the end, and do all the bows in one go, so you are not switching tools every two minutes.
Work in a clear space with good light, and take a break every half hour, because tired hands make sloppy folds. Put on something to listen to, and keep a drink nearby but away from the paper. Label each gift as soon as it is wrapped, before you move on to the next one, because an unlabeled pile of wrapped gifts is a puzzle nobody wants to solve on Christmas Eve.
If you are wrapping gifts for a party game, wrap the game prizes last, when your technique is at its sharpest, since those are the gifts everyone will handle. Our Christmas party games list includes the Left Right gift pass, where every guest holds a wrapped gift, and a clean, sturdy wrap matters there, because the parcels get passed around the room a dozen times before anyone opens one.
Finally, give yourself a deadline that is not Christmas Eve. Aim to finish wrapping two days before Christmas, so the last day is for cooking, resting, and enjoying the house, not for sitting on the floor with tape stuck to your fingers. Christmas falls on Friday, 25 December 2026, and the 23rd is a good wrapping day: close enough that the gifts feel real, far enough out that a mistake does not matter.
Frequently Asked Questions
How much wrapping paper do I need for one gift?
For a standard box, you need enough paper to go around the box once plus about 4 centimetres of overlap, and enough at each end to reach three-quarters of the way up the sides. As a rough guide, a roll of paper 50 centimetres wide and 2 metres long wraps about four medium boxes. Buying one roll too many is cheaper than running out halfway through the pile and having to match a pattern you cannot find again.
What is the best wrapping paper for beginners?
Thick, matte paper with a grid on the back. It does not tear when you crease it, it hides fingerprints, and the grid makes straight cuts easy. Avoid very thin, shiny paper and foil paper until you are confident, because both show every crease and tear easily. Kraft paper is forgiving, looks good with twine and greenery, and is the easiest paper to fix with a patch that does not show.
How do I wrap a gift without tape showing?
Use double-sided tape under the long folded edge and under the bottom end flap, so no tape is visible on the outside at all. Fold the raw edge of the paper under before you tape it down, so a folded edge shows instead of a cut edge. Keep the seam on the bottom of the gift, and put any tape you do need on the ends or the underside, where it will not be seen.
How do I wrap a gift that has no box?
Put it in a box first, if you possibly can. A spare box, a shoe box, or a postal box all work, with tissue paper to stop the gift moving. If there is genuinely no box, gather the wrapping around the gift and tie it, the way you would wrap a ball, or use a fabric furoshiki wrap, which bends around any shape. Wrapping a soft or irregular gift like a box is the most common cause of torn paper.
Can I wrap Christmas gifts in fabric instead of paper?
Yes, and it works well. A square of fabric about twice the width of the gift, folded and knotted over the top, is the basic furoshiki wrap, and it needs no tape at all. Use a scarf, a tea towel, or a piece of cotton, and choose a fabric the recipient can reuse. Fabric wraps suit books, boxes, and awkward shapes, and they produce no waste, which is a genuine advantage when you are wrapping a whole pile of presents.
When should I start wrapping Christmas gifts?
Start as soon as the first gifts are bought, and wrap in small batches rather than leaving everything to one night. A few gifts a week through December is far easier than twenty in one evening, and it means the paper, ribbon, and tags are already out and ready. Aim to finish by 23 December, so Christmas Eve is free, and store any leftover paper and ribbon with the rest of the decorations, so next year starts with supplies you already own.
Leave a Reply