

Table of Contents
There are mornings when you want your hair off your face but you do not want to give up the length you spent months growing out. That is exactly where half up half down hairstyles earn their keep. You pull the front and top sections back, you leave the rest loose, and suddenly you can see what you are doing, your makeup shows, your earrings show, and you still look like you have long hair. It is a small change with a big payoff, which is why it never really goes out of style.
This guide covers the versions that actually work in real life, not just in photos. You will find twists you can do in five minutes, claw clip styles that survive a workday, mini ponytails that look far more polished than they have any right to, knotted and braided half-up variations, and the volume tricks that stop the whole thing from going flat by lunchtime. You will also find honest advice on face shapes, hair lengths, and how to make a half-up style hold from morning until you take it out at night.
If you have ever tried a half-up style and watched it slide out within an hour, the problem was almost never your hair. It was usually the sectioning, the pins, or the prep. All three are fixable, and none of them require salon skills.
Why Half Up Half Down Hairstyles Work for Almost Everyone
A full ponytail can feel severe. Hair worn completely loose can feel like it is constantly in the way, especially if you work at a desk, cook, or spend the day chasing kids around. A half-up style splits the difference in the most practical way possible. The pieces most likely to fall into your eyes are secured, while the bulk of your hair stays down where it softens your face and shows off its length and texture.
It is also forgiving in a way that a neat bun or a sleek updo is not. A few loose strands do not ruin it. In fact, they usually improve it. If one side comes out a little fuller than the other, nobody notices, because the eye reads the overall shape rather than the symmetry. That makes it a good choice when you are short on time or still learning to style your own hair.
Another reason it lasts year after year is that it adapts. The same basic idea works on straight hair, wavy hair, curls, and coils. It works on a bob if you take small sections, and it works on waist-length hair if you take bigger ones. You can dress it up with a pretty clip for a wedding guest look, or keep it plain for school, work, or a run to the shops. Very few hairstyles cover that much ground.

Getting the Sectioning Right Before You Start
Most half-up styles fail at the first step, which is deciding how much hair to take up. Take too little and the style slips. Take too much and you lose the point of leaving hair down, and the top section gets heavy and pulls.
A good starting point is to draw an imaginary line from the top of one ear, over the crown, to the top of the other ear. Everything above that line is your working section. If you want a softer look, move the line a little lower at the front so a few face-framing pieces stay out. If you want more lift, take a slightly deeper section at the crown and leave the sides looser.
Part your hair first in whatever way you normally wear it. A middle part gives a balanced, classic result. A side part gives instant volume on the heavier side and suits round faces well, because it breaks up the symmetry. There is no rule that says you must change your part for a half-up style, and keeping your natural part usually looks better than forcing a new one for one day.
Work with hair that is not freshly washed if you can. Day-old hair grips better, holds a twist, and keeps pins in place. If your hair is freshly washed and slippery, a light mist of texture spray or dry shampoo at the roots will give it something to hold on to. You do not need much. One short spray, worked in with your fingers, is enough.
10 Half Up Half Down Hairstyles Worth Learning
1. The Classic Twist-Back
This is the one to learn first, because every other style on this list borrows from it. Take a section from each side of your face, roughly from the temples back. Twist each section away from your face, bring them together at the back of your head, and pin them where they meet. Cross two bobby pins over each other in an X shape for a hold that actually lasts.
Keep the twists loose rather than tight. A tight twist pulls at your hairline and looks stiff. A loose twist sits softer, shows more texture, and is far more comfortable after a few hours. If your hair is fine, gently pull a few strands out of each twist to make it look fuller. If your hair is thick, keep the twists a little neater so they do not turn into a bulky knot at the back.
This version takes about five minutes and suits every occasion that does not require a formal updo. It is the style to reach for when you want to look put together without looking like you tried hard.

2. The Claw Clip Half-Up
Claw clips came back for a good reason: they are fast, they do not crease your hair the way an elastic can, and they distribute weight better than a single pin. Gather your top section as you would for a twist-back, give it one loose twist, fold it up against the back of your head, and clamp the clip over it.
The trick is choosing the right size. A small clip will pop open on thick hair, and a huge clip will swallow a fine-haired half-up section whole. Medium clips suit most people for this style. If your hair is very thick, use two smaller clips side by side instead of fighting one big one.
A claw clip half-up is ideal for workdays and hot weather. It keeps hair off your neck at the sides, it is easy to redo in a bathroom mirror in thirty seconds, and it looks intentional even when you did it in a car park. Keep one in your bag and you will use it more than any other accessory you own.
3. The Mini Ponytail
The mini ponytail is the simplest half-up style there is, and it is easy to underestimate. Gather the top section, smooth it back, and tie it with a thin elastic that matches your hair colour. Then take a small strand from underneath the ponytail, wrap it around the elastic, and pin it underneath. That one extra step is the difference between a school-run ponytail and a style that looks finished.
Placement matters more than anything else here. Tie it too low and it drags the whole style down. Tie it at the crown, where the back of your head starts to curve, and it lifts your face and gives the loose hair underneath a better shape. If you want a little more height, backcomb the crown section lightly before you tie it, then smooth only the very top layer over it.
This is a good everyday style for straight and lightly wavy hair, and it is one of the few half-up styles that looks just as good sleek as it does messy. For a softer finish, pull out two thin pieces at the front and let them frame your face.
4. The Knotted Half-Up
A knotted half-up looks complicated and takes about two minutes once you know the move. Take a section from each side, bring them to the back, and tie them together in a simple knot, exactly as you would tie the start of a shoelace. Tie a second knot on top of the first, then pin the ends underneath so they blend into the loose hair.
The knot gives you texture and interest without any braiding skill, which makes it a good option if braids have never been your strong point. It works best on medium to long hair, because you need enough length for the sections to knot and still have ends to tuck away. On shorter hair, use smaller sections and secure the knot with two pins instead of trying to tuck the ends.
For a romantic version, curl the loose hair first in soft waves and keep the knot loose. For a cleaner version, keep the hair straight and pull the knot a little tighter. Either way, finish with a light mist of flexible-hold spray rather than a stiff one, so the knot keeps its soft shape.

5. The Half-Up Top Knot
Take your top section, twist it into a small bun at the crown, and pin it. Leave the rest down. That is the whole style, and it is one of the most useful ones in this list because it adds height in exactly the place where most half-up styles go flat.
The size of the bun changes the whole feel. A small, neat bun reads polished and works for the office. A larger, looser bun reads relaxed and works for weekends. If your hair is fine, loop the section through the elastic twice and fan the bun out gently with your fingers before pinning it. If your hair is thick, split the section in two, twist each half, and wrap them around each other so the bun does not turn into a heavy lump.
This style is also a good fix for a bad hair day. If your roots are oily or your fringe will not behave, a top knot pulls attention upward and gives you a clean frame around your face, while the loose hair underneath distracts from everything else.

6. The Bubble Half-Up Ponytail
Bubble braids sound like a trend for teenagers, but a single bubble section on a half-up ponytail is surprisingly grown-up. Tie a mini ponytail at the crown, then add a second elastic a few inches down the ponytail. Gently pull the hair between the two elastics outward to create a rounded bubble shape. Repeat once more if your hair is long enough.
The key is to pull gently and evenly. Yank one side too hard and the bubble goes lopsided. Small, even tugs on both sides give a smooth, full shape. This style adds volume to fine hair without backcombing, because each bubble makes the ponytail look thicker than it is.
Keep the bubbles to the top section only. Bubbling the whole length of your hair turns it into a different style altogether. One or two bubbles at the crown, with the rest of your hair loose, is the version that works for adults at a party, a brunch, or a night out.
7. The Rope Twist Half-Up
A rope twist is two strands twisted in the same direction, then twisted around each other in the opposite direction. It sounds fiddly, but your hands learn it fast, and the result looks far more detailed than a plain twist. Take a section from each side, rope-twist each one back, and join them at the back with pins or a small elastic.
Rope twists hold better than plain twists on smooth, straight hair, because the opposing twists lock against each other instead of slowly unravelling. If your hair is very slippery, twist each strand with a tiny amount of styling cream on your fingers first. It gives grip without making the hair sticky.
This is a good choice for weddings and formal events when you want detail but do not want a full braid. It photographs well from the back, which matters if you are a bridesmaid or a wedding guest, and it keeps its shape for hours because the structure is built into the twist itself.
8. The Side-Swept Half-Up
Not every half-up style has to be centred. Sweep your top section to one side and pin it just above and behind one ear, letting the loose hair fall mostly over the opposite shoulder. The asymmetry is flattering, especially on round and square faces, because it draws the eye diagonally instead of straight across.
This style shows off highlights and layers beautifully, because the swept section creates a line of movement across the back of your head. It also works well with a deep side part, since the part and the sweep work in the same direction rather than fighting each other.
Pin placement is what makes or breaks it. Place two pins in a crisscross just behind the ear on the pinned side, and check from the front that the sweep is not pulling your hairline tight. A side-swept half-up should feel comfortable. If it tugs, you have taken too much hair into the sweep.
9. The Sleek Half-Up
Sometimes you want the opposite of soft and messy. A sleek half-up is smooth, controlled, and polished, and it suits formal settings and professional environments where a textured style might read as too casual.
Start by smoothing your hair with a brush and a small amount of smoothing serum, concentrating on the top section. Gather it back, keeping the surface smooth, and secure it with a covered elastic or a flat clip. Run a flat iron over the loose lengths if you want a truly straight finish, or leave a gentle bend at the ends so the style does not look harsh.
The most common mistake with a sleek half-up is using too much product. Heavy serum or gel makes the top section look wet and flat, and it weighs down the loose hair. A pea-sized amount of serum, worked through the top section only, is plenty. If flyaways pop up later, smooth them with a touch of serum on your palms rather than spraying more product on top.
10. The Curly Half-Up
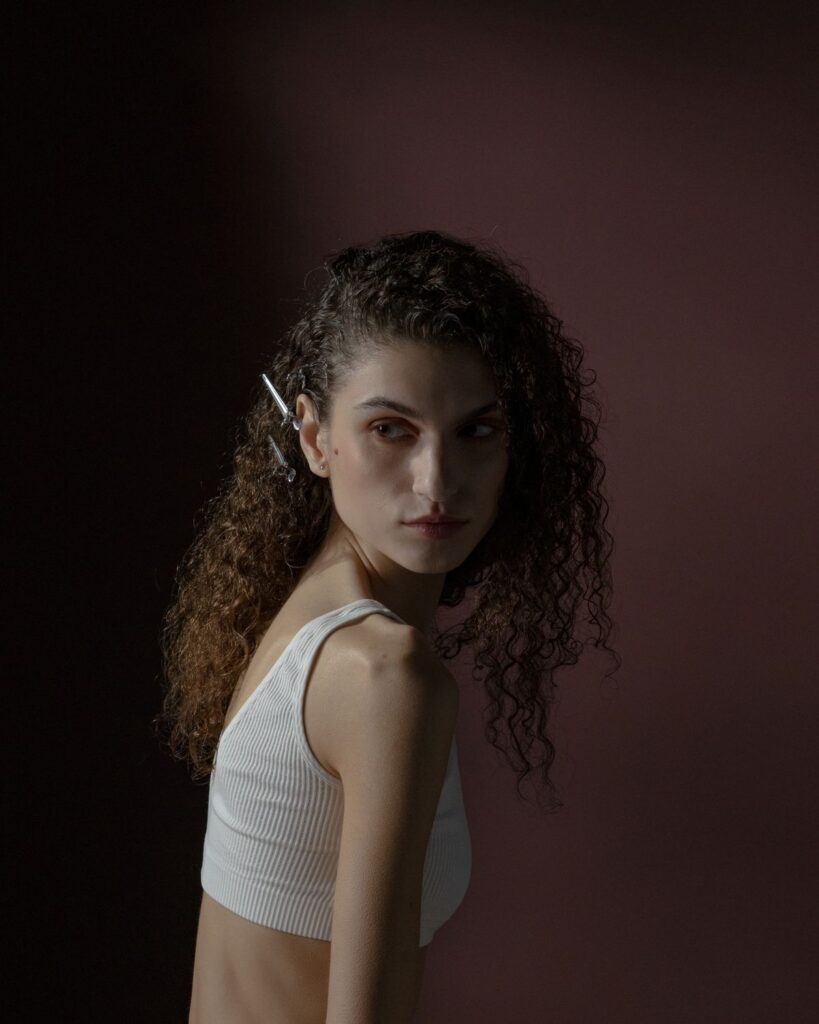
Curly hair and half-up styles are a natural match, because curls give you volume and shape without any backcombing. Gather the top section loosely, taking care not to pull the curls straight as you go, and secure it with a clip or a scrunchie rather than a tight elastic. A tight elastic breaks up the curl pattern and leaves a dent.
The best approach for curls is to work with your natural pattern, not against it. Let the top section sit a little higher and looser than you would on straight hair, so the curls keep their spring. Leave a few curls loose around your face. They soften the style and stop it from looking pulled back too hard.
If your curls tend to frizz as the day goes on, apply a light curl cream to the loose lengths before you style, and keep a small amount in your bag for touch-ups. Scrunching a tiny amount back into the ends revives the shape without needing to redo the whole style.
A Quick Note on Crown Braids
You will see crown braids listed in almost every roundup of half-up styles, and they are lovely. Two braids brought around the head and pinned at the back give a soft, romantic frame, and they are worth knowing. They are covered in depth in a separate guide in this series, so they are not the focus here. If you already know how to braid, you can swap a braid in for any of the twists above and the rest of the advice in this article still applies. The sectioning, the volume tricks, and the hold tips do not change.
Volume and Lift Tricks That Actually Work
Flatness is the number one complaint about half-up styles, and it usually comes down to what happens at the crown. Here are the tricks that make a real difference, in order of effort.
First, dry your crown section with lift. When you blow-dry, lift the roots at the crown upward with a round brush or your fingers, and let the section cool before you let it drop. Hair sets in the position it cools in, so a section that cools lifted stays lifted far longer than one you simply teased into place.
Second, use the flip trick. Tie your mini ponytail, then make a small gap in the hair just above the elastic, flip the ponytail up and through the gap, and pull it gently tight. This inverts the ponytail and creates instant lift at the crown while hiding the elastic. It takes ten seconds and it works on almost every hair type.
Third, backcomb sparingly. Take a small section at the crown, hold it straight up, and push a fine-tooth comb down toward the roots in short strokes, two or three times only. Smooth just the top layer over it. Heavy backcombing all over the crown looks dated and damages hair over time. A little, in the right spot, is all you need.
Fourth, think about where the weight sits. If your loose hair is very long and heavy, it pulls the top section down over the course of the day. A few long layers take weight out of the lengths without losing length, and they make the loose section move better. If you are due a trim, ask your stylist for layers that start below the chin. They make every half-up style sit better.
Finally, choose your products by hair type. Fine hair needs lightweight mousse or texture spray at the roots and nothing heavy on the lengths. Thick hair can handle a light cream to control bulk. Curly hair needs curl cream, not hairspray, as the first step. The wrong product in the wrong place is often why a style that looked good at 8 a.m. looks tired by noon.
Choosing a Half Up Half Down Hairstyle for Your Face Shape
Face shape advice is often overstated, but a few guidelines genuinely help. The goal is balance: add height where your face is wide, and add softness where your face is angular.
If your face is round, height at the crown is your friend. A half-up top knot or a mini ponytail tied high lengthens the overall shape. Keep a few longer pieces loose at the front rather than pulling everything straight back, because those pieces break up the width at the cheeks.
If your face is oval, most half-up styles suit you, so choose by occasion and hair type rather than worrying about shape. A middle part with a twist-back is a safe, classic choice, and a sleek half-up shows off balanced proportions well.
If your face is square, softness matters more than height. Loose twists, a knotted half-up, and face-framing strands soften a strong jawline. Avoid pulling the top section back very tightly, which emphasises angles. A side-swept half-up is particularly flattering here.
If your face is heart-shaped, with a wider forehead and a narrower chin, keep volume lower rather than piled high on the crown. A twist-back or a claw clip style that sits a little lower at the back balances the forehead without adding more height on top. Soft waves through the loose hair add width around the chin area, which brings the whole shape into balance.
If your face is long, avoid too much height at the crown, which stretches the shape further. A half-up style tied at the middle of the back of your head, with waves or curls through the lengths, adds width at the sides and keeps the proportions comfortable.
None of this is a rulebook. If you love a style that the guidelines say is wrong for your face, wear it anyway. Confidence and a style you enjoy wearing will always look better than a theoretically perfect style you keep fussing with.
Half-Up Styles by Hair Length and Texture
Short and Shoulder-Length Hair
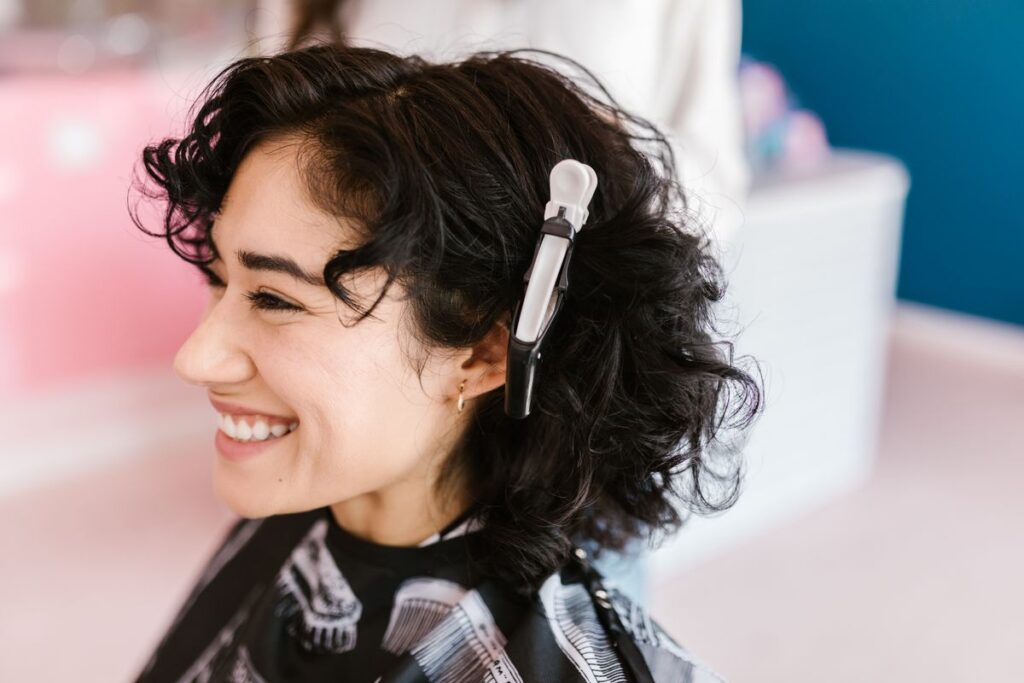
Half-up styles on shorter hair work best with small sections. Take just the front pieces and a thin layer from the crown, twist them back, and pin them. Trying to take half your head up on a bob leaves you with almost nothing down, and the pins have nothing to grip.
Mini clips and small claw clips are your best tools here. One small clip holding a twisted front section, with the rest of the bob loose and slightly waved, is a complete style. Adding texture with a wave or a bend through the lengths also helps, because straight, short hair can slip out of pins more easily than textured hair.
Medium-Length Hair
Medium hair is the sweet spot for half-up styles. You have enough length for knots, bubbles, and rope twists, but not so much weight that the style gets pulled down. Almost every style in this guide works as written on medium hair, which makes it a good length to practise on.
If your medium hair is one length with no layers, the loose section can look a little heavy and flat. A few soft waves through the lengths, or long layers at your next cut, will fix that without changing your overall length.
Long and Very Long Hair
Long hair gives you the most dramatic half-up results, but it also brings the most weight. Secure the top section with more than pins alone: use an elastic first, then pin over it, so the weight is shared. A claw clip on its own may not hold a thick, long half-up section all day.
Long hair also benefits from styling the loose lengths before you do the top section. If you curl or wave the lengths first, the whole style looks finished. If you do the top first and then run out of time, the loose hair can look undone by comparison. Work bottom-up: lengths first, top section last.
Fine Hair
Fine hair needs grip and volume, and it gets both from texture. Use dry shampoo or texture spray at the roots before you style, keep sections small so they do not go limp, and favour styles that build in fullness, like the bubble half-up and the flipped mini ponytail. Avoid heavy serums and oils near the roots, which flatten fine hair fast.
A useful trick for fine hair is to crisscross pins rather than placing them in parallel. Two pins crossed over each other grip far better than two pins side by side, and they are less likely to slide out as the day goes on.
Thick Hair
Thick hair holds styles well but can turn bulky at the back if you take too much hair up. Take a thinner top section than you think you need, and let the bulk stay in the loose section where it looks good. Use strong elastics and sturdy clips, and pin in more places than you would for fine hair. Three well-placed pins beat six pins clustered in one spot.
If your thick hair frizzes in humidity, smooth the top section with a light cream before you pin it, and keep a small amount for touch-ups. Smoothing the top section is what makes a thick-haired half-up look polished rather than puffy.
How to Make a Half-Up Style Hold All Day
A style that looks good for an hour is not much use if you need it for a wedding, a workday, or a long event. Hold comes from preparation, anchoring, and finishing, in that order.
Preparation means starting with hair that has grip. As mentioned earlier, day-old hair is ideal. If your hair is clean, add texture spray at the roots. If your hair is damp, dry it fully before you style. Styling damp hair into a half-up almost guarantees it will loosen as it dries and changes shape.
Anchoring means giving pins something to hold. The hidden braid trick used by stylists is worth learning: make two tiny braids at the back of your head, underneath where your twists will sit, and pin your twists into those braids. The braids act as a base that does not move, so the style stays put even through dancing or a long day outside. It takes an extra minute and it is the single best hold trick in this guide.
For curls and waves that need to last, curl with a slightly smaller barrel than you think you need, and let each curl cool completely before you touch it. Clip each curl up while it cools if you have time. Hair that cools in its curled shape holds far longer than hair that is brushed out while still warm.
Finishing means the right spray for the job. A flexible-hold spray keeps movement and looks natural. A strong-hold spray is better for formal events and humid weather, but use it from a distance so it does not go stiff in one spot. Spray the top section and the pinned area, not the loose lengths, unless you want the loose hair to feel crunchy.
Finally, carry a small kit. Two bobby pins, one spare elastic, and a travel-size texture spray fit in any bag and will rescue almost any half-up style that starts to loosen. A thirty-second fix in the afternoon beats redoing the whole style from scratch.
Mistakes That Ruin an Otherwise Good Half-Up Style
Pulling the top section too tight is the most common mistake. It causes a headache by midday, it pulls fine hairs at the hairline into an unflattering line, and it makes the style look severe. A half-up style should feel comfortable. If you can feel it pulling, loosen it and re-pin.
Using pins that match your hair colour matters more than people think. A silver pin on dark hair catches the eye and breaks the illusion. Buy pins in your hair colour, and push them in with the wavy side against your head, which grips better than the flat side down.
Skipping the back view is another easy mistake. Styles are usually done facing a mirror, so the front looks good while the back is uneven. Before you leave, hold a hand mirror up or take a quick photo of the back of your head. It takes ten seconds and saves you from walking around with a lopsided twist all day.
Overloading on accessories is the last one. One good clip or a pair of pretty pins is enough. A clip plus pins plus a headband plus a bow turns a simple style into a crowded one. Let the hairstyle do the work and let one accessory be the accent.
A Simple Five-Minute Routine for Busy Mornings
When you have five minutes, this is the routine to use. Brush your hair and add texture spray at the roots if it is clean. Take a section from each temple, twist each one loosely back, and cross-pin them at the back. Pull out two face-framing pieces. Mist lightly with flexible-hold spray. Done.
That routine is the base for everything else in this guide. Once it feels automatic, you can swap the twist for a knot, a rope twist, or a claw clip without learning a whole new style. The sectioning and the pinning stay the same. Only the detail changes.
On days when you have a little more time, curl the loose lengths first, then do the same routine. The extra ten minutes of curling transforms the same half-up shape into something that looks event-ready, which is useful to know before a dinner or a party.
Frequently Asked Questions
Can I wear a half up half down hairstyle on short hair?
Yes, as long as you keep the sections small. On a bob or lob, take just the front pieces and a thin layer from the crown, twist them back, and pin them with small clips. Waving the lengths first adds texture that helps pins grip, and the style looks complete even with a short length.
How do I stop my half-up style from falling out?
Start with hair that has grip, using day-old hair or texture spray on clean hair. Cross your pins in an X shape instead of placing them in parallel, and pin your twists into a small hidden braid at the back for a base that does not move. Finish with flexible-hold spray on the pinned area, and carry two spare pins for touch-ups.
Which half-up style is best for fine hair?
Styles that build in fullness work best: the bubble half-up ponytail, the flipped mini ponytail, and the half-up top knot. All three add volume at the crown without heavy backcombing. Keep sections small, use texture spray at the roots, and avoid heavy serums that flatten fine hair.
Are half up half down hairstyles suitable for formal events?
Yes, with the right finish. A sleek half-up, a rope twist, or a knotted half-up with soft waves all suit weddings, dinners, and formal occasions. The difference between a casual and a formal half-up is usually the finish: smoother top sections, neater pinning, and styled loose lengths rather than air-dried texture.
Do I need heat styling for a half-up style?
No. Twists, claw clips, knots, and mini ponytails all work on air-dried hair, and curly hair often looks best with no heat at all. Heat helps if you want defined waves or a sleek finish, but it is optional. If you do use heat, use a heat protectant first and let curls cool fully before you pin the top section.
How do I choose between a clip, pins, and an elastic?
Use an elastic when the top section is heavy or you need a firm base, and cover it with a wrapped strand or a clip. Use pins when you want an invisible hold, and cross them for grip. Use a claw clip when you want speed, easy redoing, and a softer hold that does not crease your hair. For long events, combine them: elastic first, pins over it, and a clip as the finishing accent if you like.
More Hair Guides to Explore
If you found this guide useful, Guide Vora has more haircut and styling guides in the same practical style. The burst fade haircut guide explains a curved fade that keeps length at the back, the French crop guide covers a clean, low-maintenance cut with a forward fringe, and the mid fade with beard guide shows how to balance a fade with facial hair. They are written for the men in your life who want the same kind of clear, no-nonsense advice. For another take on half-up styling from a professional hair brand, Redken’s easy half up half down hairstyles guide covers bubble braids, bows, and knotted versions with product tips.
Leave a Reply